Tips for bulb planting success
Loading...
My instrument of choice in bulb planting is not very high-tech. It’s long been your basic D-handle, round-point shovel. But feeling a little adventurous, I appraised all my soil lifters anew this week while planting a multitude of bulbs I received as presents.
The goal: How to best lift the least amount of heavy black dirt easily and efficiently.
The checklist and conclusions:
Tree spade – I really thought this held the most promise, since it is used to plant scores of seedlings in little slits and very quickly. But this heavyweight was overkill.
• Lightweight, long-handled “women’s” shovel – This is my perennial planter of choice, but the metal neck almost snapped with high-speed repetition.
• Long-handled trowel – Hopeless. My soil is just too heavy for the little thing.
So I went back to Square 1, the D-handle, and my five-step process:
1. Stomp the blade, angled into the soil.
2. Push the handle forward slightly to just barely lift the soil.
3. Throw a bulb in the slit behind the blade.
4. Remove the blade from the soil and step on the incision to close it.
5. Wait for the evening rain.
Planting this way, I can easily put a hundred separate bulbs in the ground in less than an hour. (I rarely put two or three in a hole.) Drifts, “streams,” groupings (anything but straight lines) – all easy going.
But even before going outside, I do a little prep work in the house.
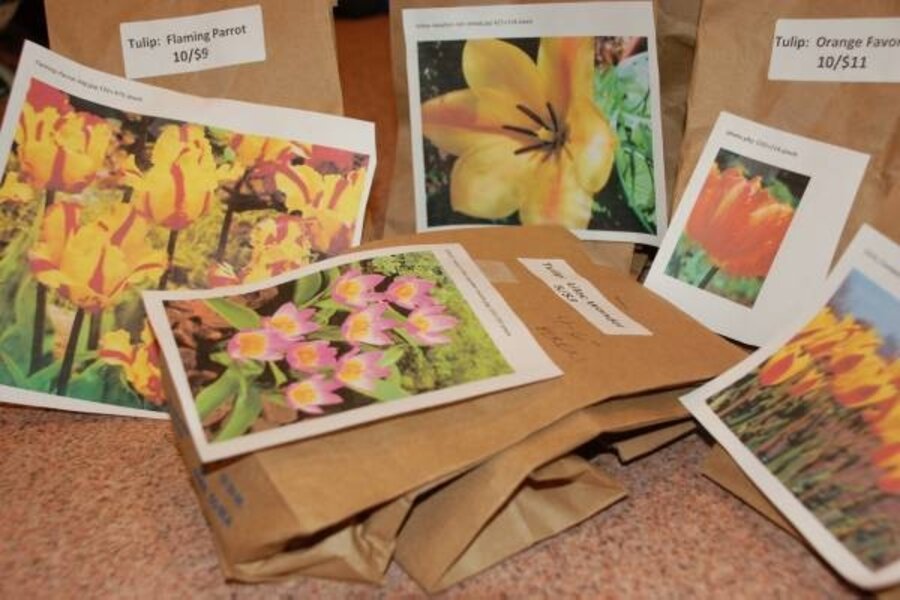
Because bags of bulbs rarely have any more label information than the name of the bulb, I add info I need to each bag: Specifically, how tall the plant will be (so I can figure front, back, or middle of the border), and what the flower looks like (to ease color transitions, avoid clashes, and complement house paint or shades of walls or stone).
I write the flower height on the bag or tag and affix a picture of the flower as well. Google Images makes this easy. Just search for the varieties you are about to plant, and then choose the size of the photo you need (not so big as it flaps in the wind, not so small you can’t see the pattern) by looking at the image size under the thumbnail pictures.
Another thing: You really can’t plant enough bulbs. Excess is not enough.
What else I’m into this week: Ogling the new Indian motorcycles.
Editor’s note: Look for more blog posts by The Transplanted Gardener, Craig Summers Black, at our blog archive. The Monitor’s main gardening page offers articles on many gardening topics. See also our RSS feed. You may want to visit Gardening With the Monitor on Flickr. Take part in the discussions and get answers to your gardening questions. If you join the group (it’s free), you can upload your garden photos and enter our next contest.


